India eVisa rejection can happen for several document, detail, or consistency issues. The best next step is to read the rejection reason carefully, fix the root cause, and submit a clean reapplication.
Most Common India eVisa Rejection Reasons
Many rejections come from mismatched details or low-quality uploads. Identifying the exact reason early helps prevent repeat errors.
- Blurred passport scan or unclear photo upload
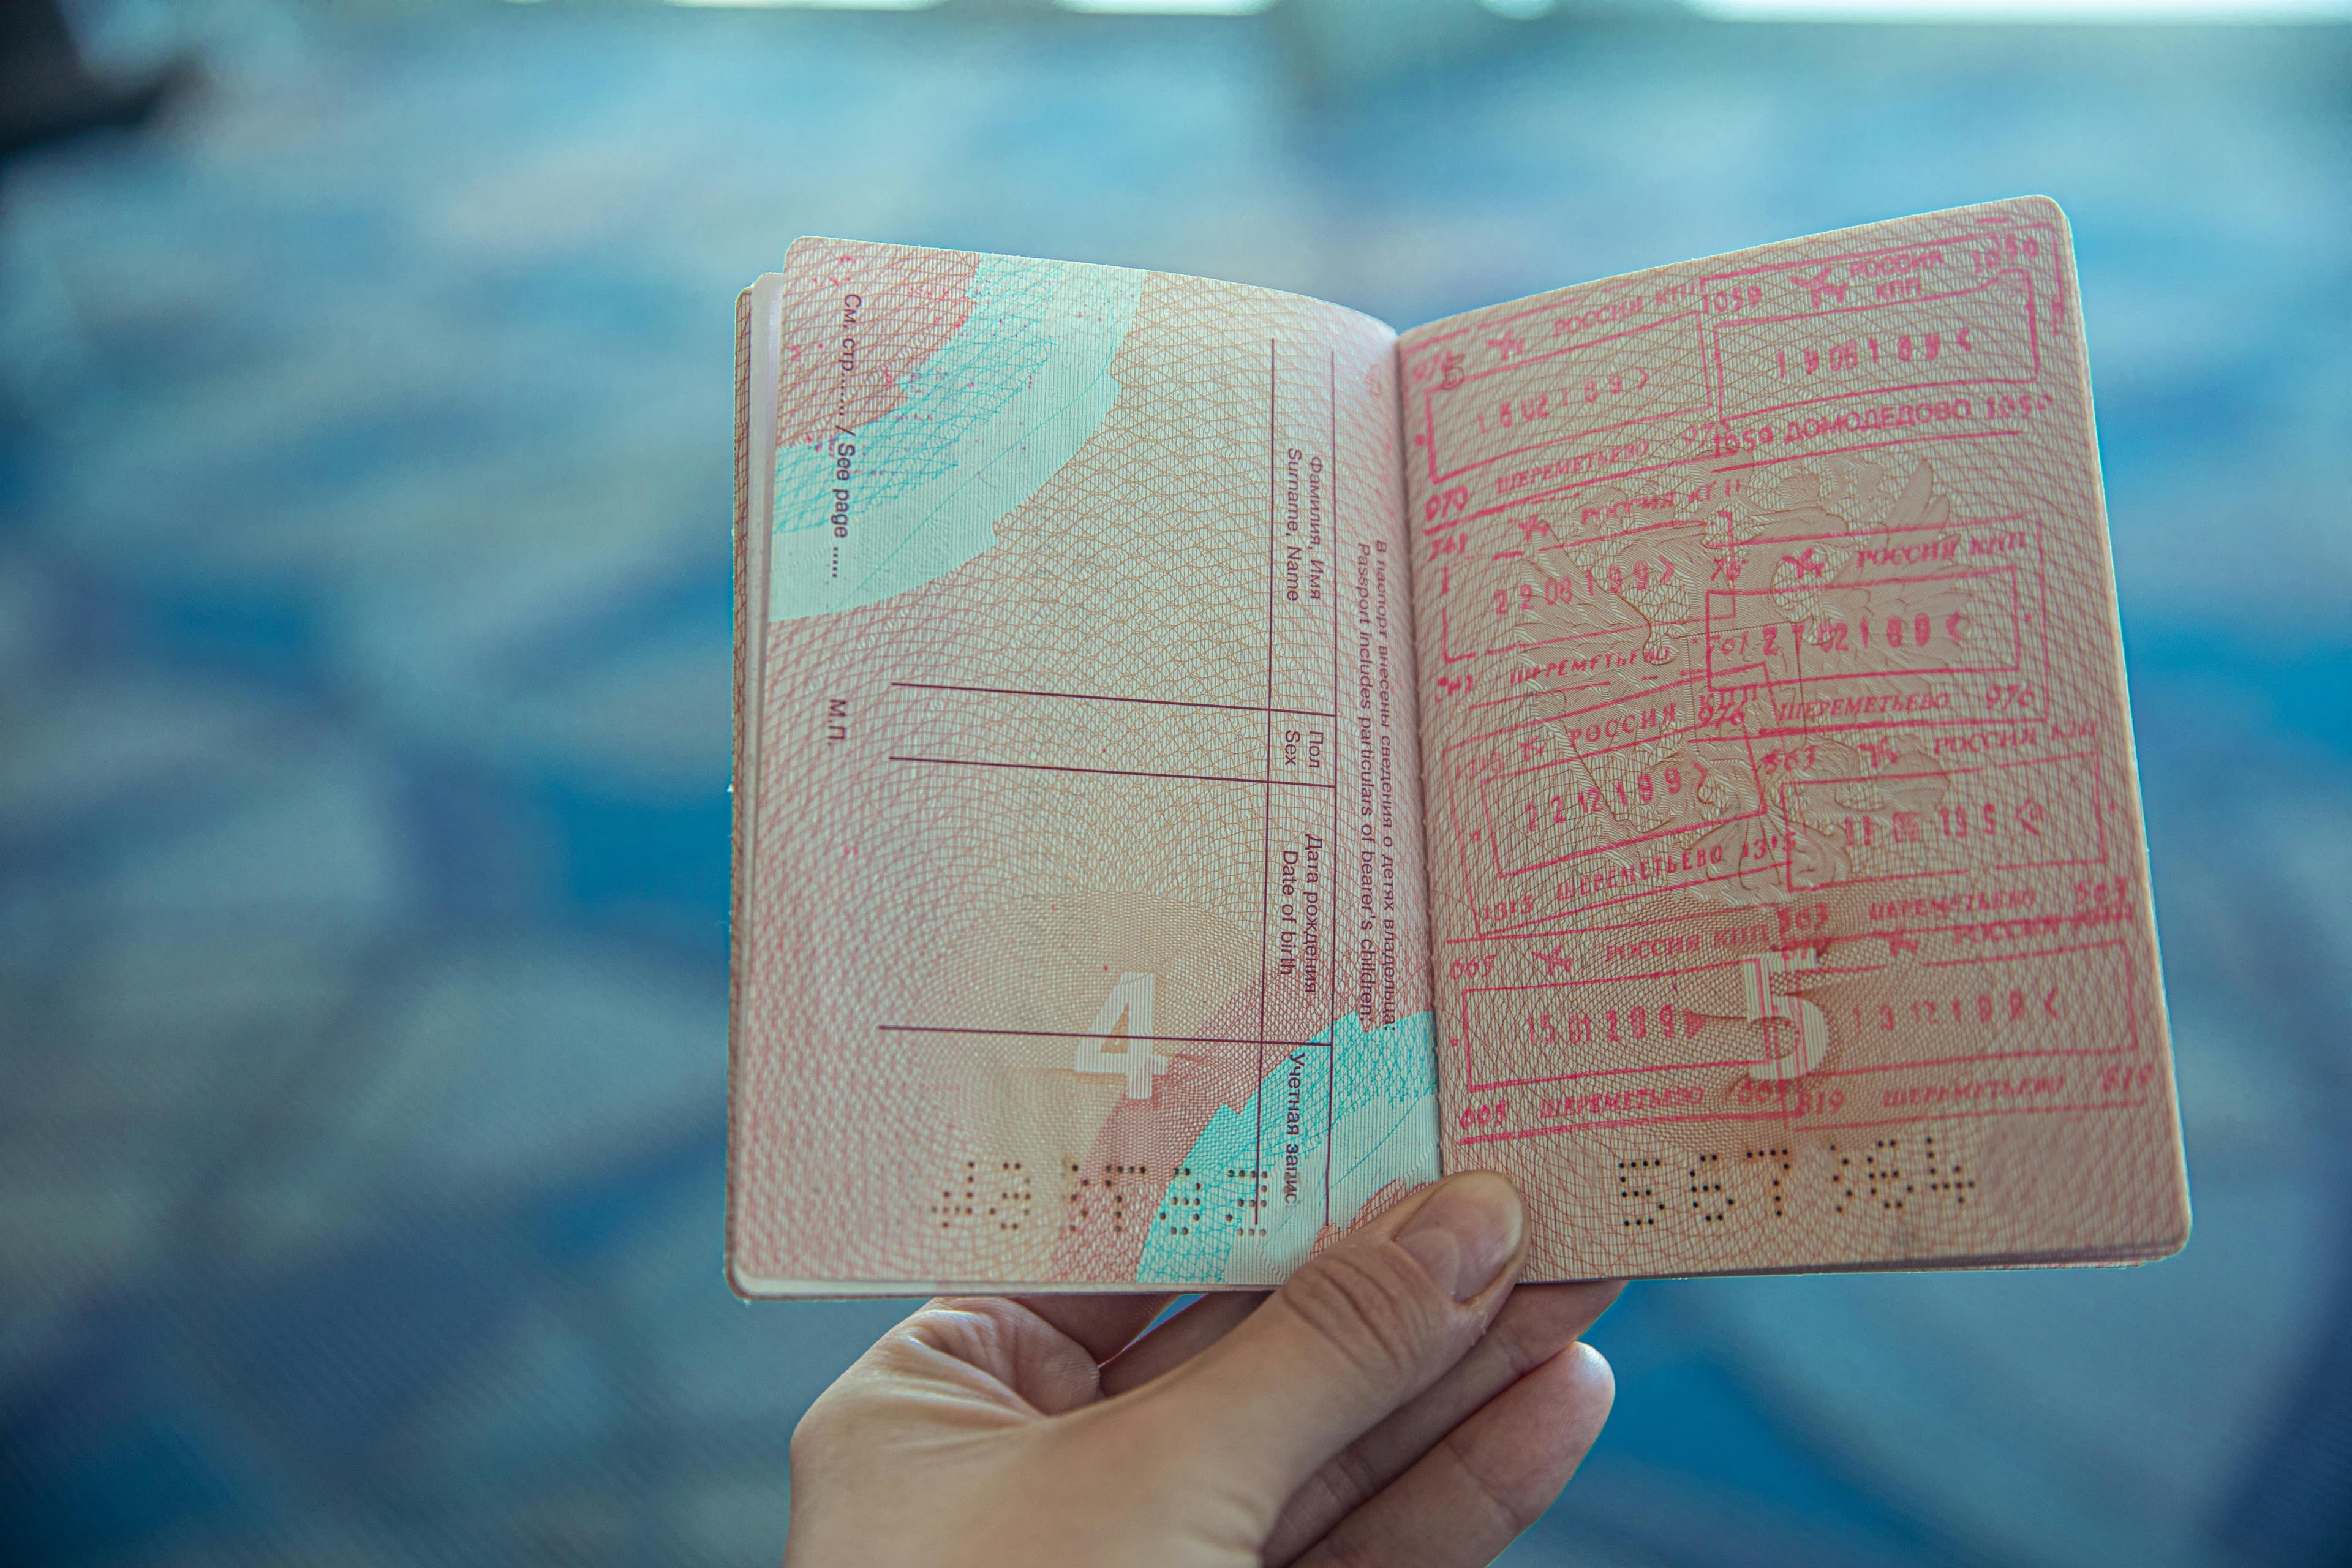
- Passport number, name, or date mismatches
- Incomplete answers in critical form sections
- Conflicting information across documents
How to Read and Interpret Rejection Messages
Focus on the Specific Trigger
Rejection messages usually indicate the area that failed verification. Map that message directly to the related field or document before making changes.
Avoid Guesswork Corrections
- Review your previous submission record.
- Identify the exact field tied to rejection.
- Correct only after confirming source documents.
For a structured submission flow, use India eVisa apply.
Corrective Steps Before Reapplying
Prepare One Clean Reapplication
- Match personal details exactly with passport data.
- Upload clear, readable documents with correct orientation.
- Check every required field before payment.
- Track one active application to avoid duplicates.
Frequently Asked Questions
Can I reapply immediately after rejection?
You can reapply after you fully correct the rejection cause and verify all details for consistency.
Do I need to change all fields when reapplying?
No. Correct the rejected elements, but also recheck all core identity and document fields before submission.
How do I reduce repeat rejection risk?
Use clear uploads, exact passport matching, and a full final review before submitting again.
If you want a quick pre-check before reapplying, message on WhatsApp. You can also send a form enquiry through the online application form.