This India eVisa application accuracy checklist helps you submit with fewer errors. A final review can prevent common upload failures and data mismatches.
Overview and Why It Matters
Many delays happen due to small mistakes that are easy to miss. A structured checklist improves accuracy and reduces correction cycles.
- Passport details not matching exactly
- Uploads rejected for size, format, or quality
- Travel purpose not aligned with selected category
Eligibility and Key Requirements
Core Validation Points
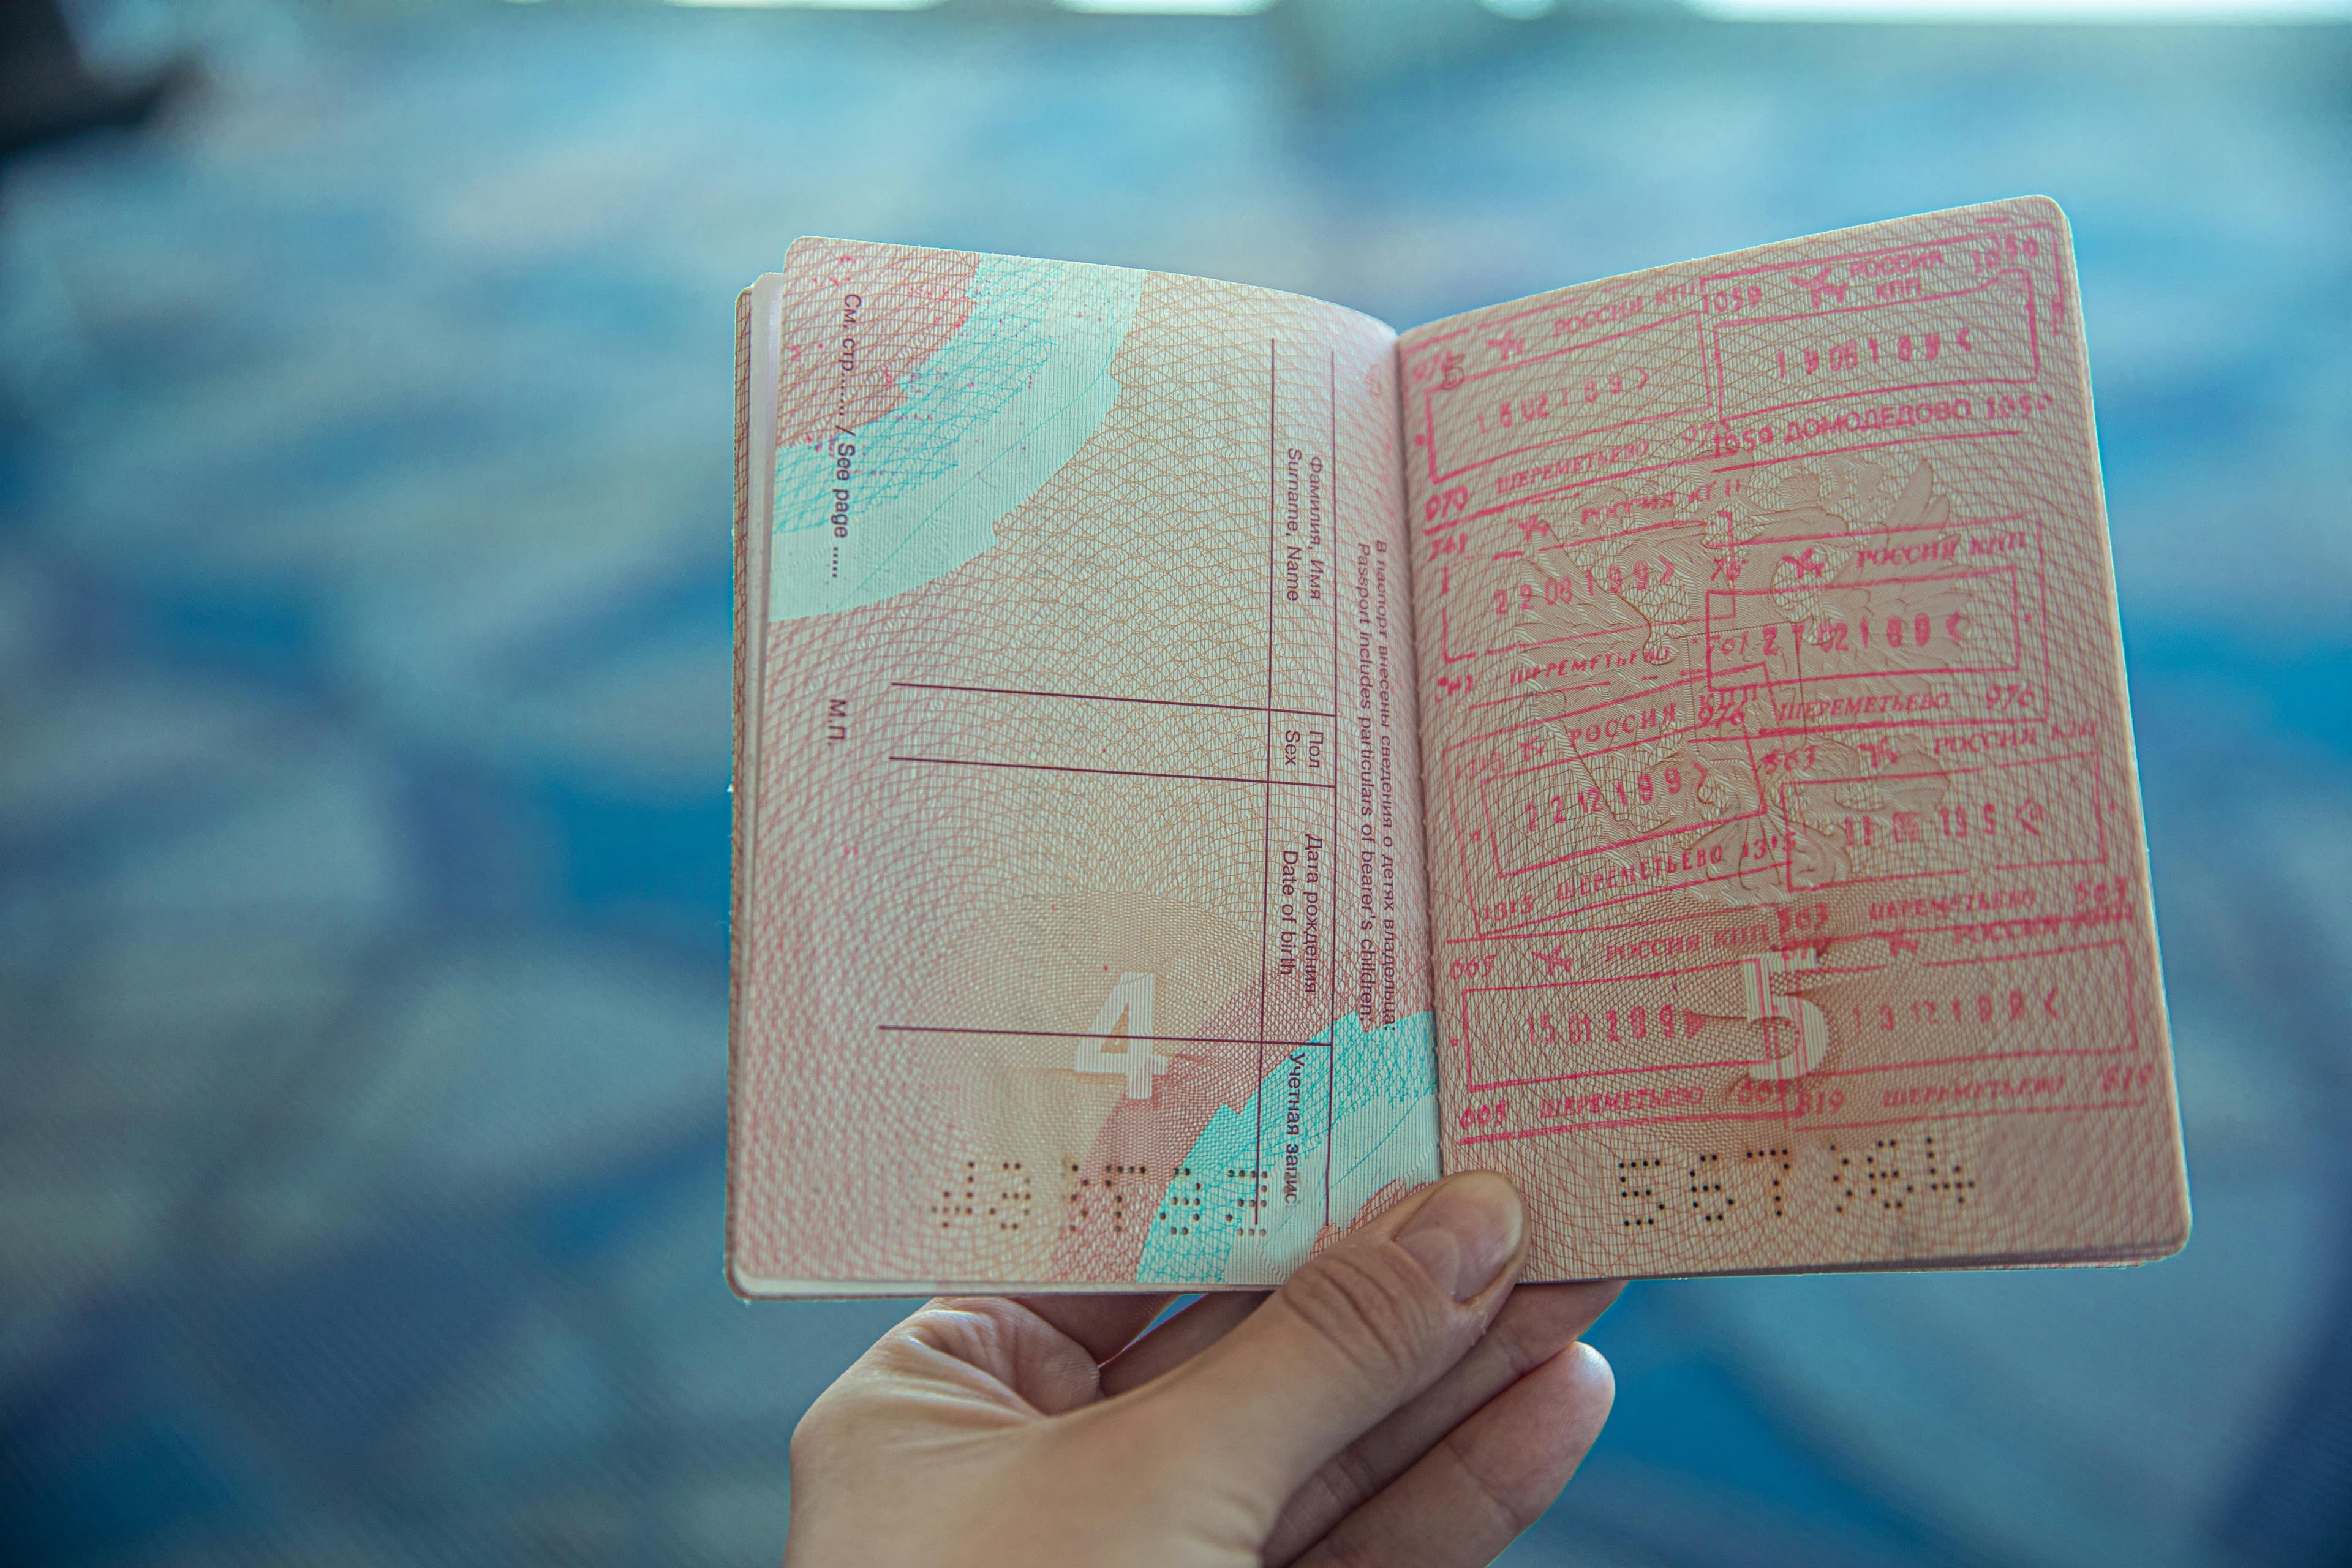
- Name, passport number, and dates entered correctly
- Category chosen according to real travel intent
- Email and phone active for updates
For guided support, start here: India eVisa apply.
Step-by-Step Process
- Review all fields line by line before payment.
- Check uploads for readability and proper orientation.
- Confirm itinerary details and contact information.
- Submit only after one complete final pass.
Documents, Fees, and Timelines
Keep your documents clear and consistent. If corrections are needed, acting early helps avoid pressure near travel dates.
You can proceed through the India eVisa application form for a streamlined workflow.
Frequently Asked Questions
What should I verify first?
Start with passport details and category fit, then review uploads.
Can minor errors still cause delays?
Yes, even small mismatches can trigger additional review.
How can I avoid repeated corrections?
Complete one full final review before submission and payment.
If you need quick guidance, message us on WhatsApp or share your details through our form enquiry page for support.