If you’re planning to travel to the United States and need a visa, one of the crucial steps in the application process is scheduling your visa interview appointment. Whether you're applying for a tourist visa (B1/B2), student visa (F1), work visa (H1B), or any other type, checking the available appointment dates is essential to plan your travel.
At Leso, we understand how overwhelming visa applications can be, so we’re here to guide you through the process of checking available appointment dates for your U.S. visa. Let's break it down step-by-step to make the process easier for you.
1) Visit the Official U.S. Visa Appointment Website
To start, you need to visit the official U.S. visa appointment website for your country. In most countries, this will be either the U.S. Department of State’s Consular Electronic Application Center (CEAC) or the website managed by CGI Federal (or its local equivalents). Here’s how you can navigate it:
- Go to the official U.S. visa appointment site.
- Choose the country and U.S. embassy or consulate where you are applying for your visa.
- You may need to create an account if you don’t have one yet.
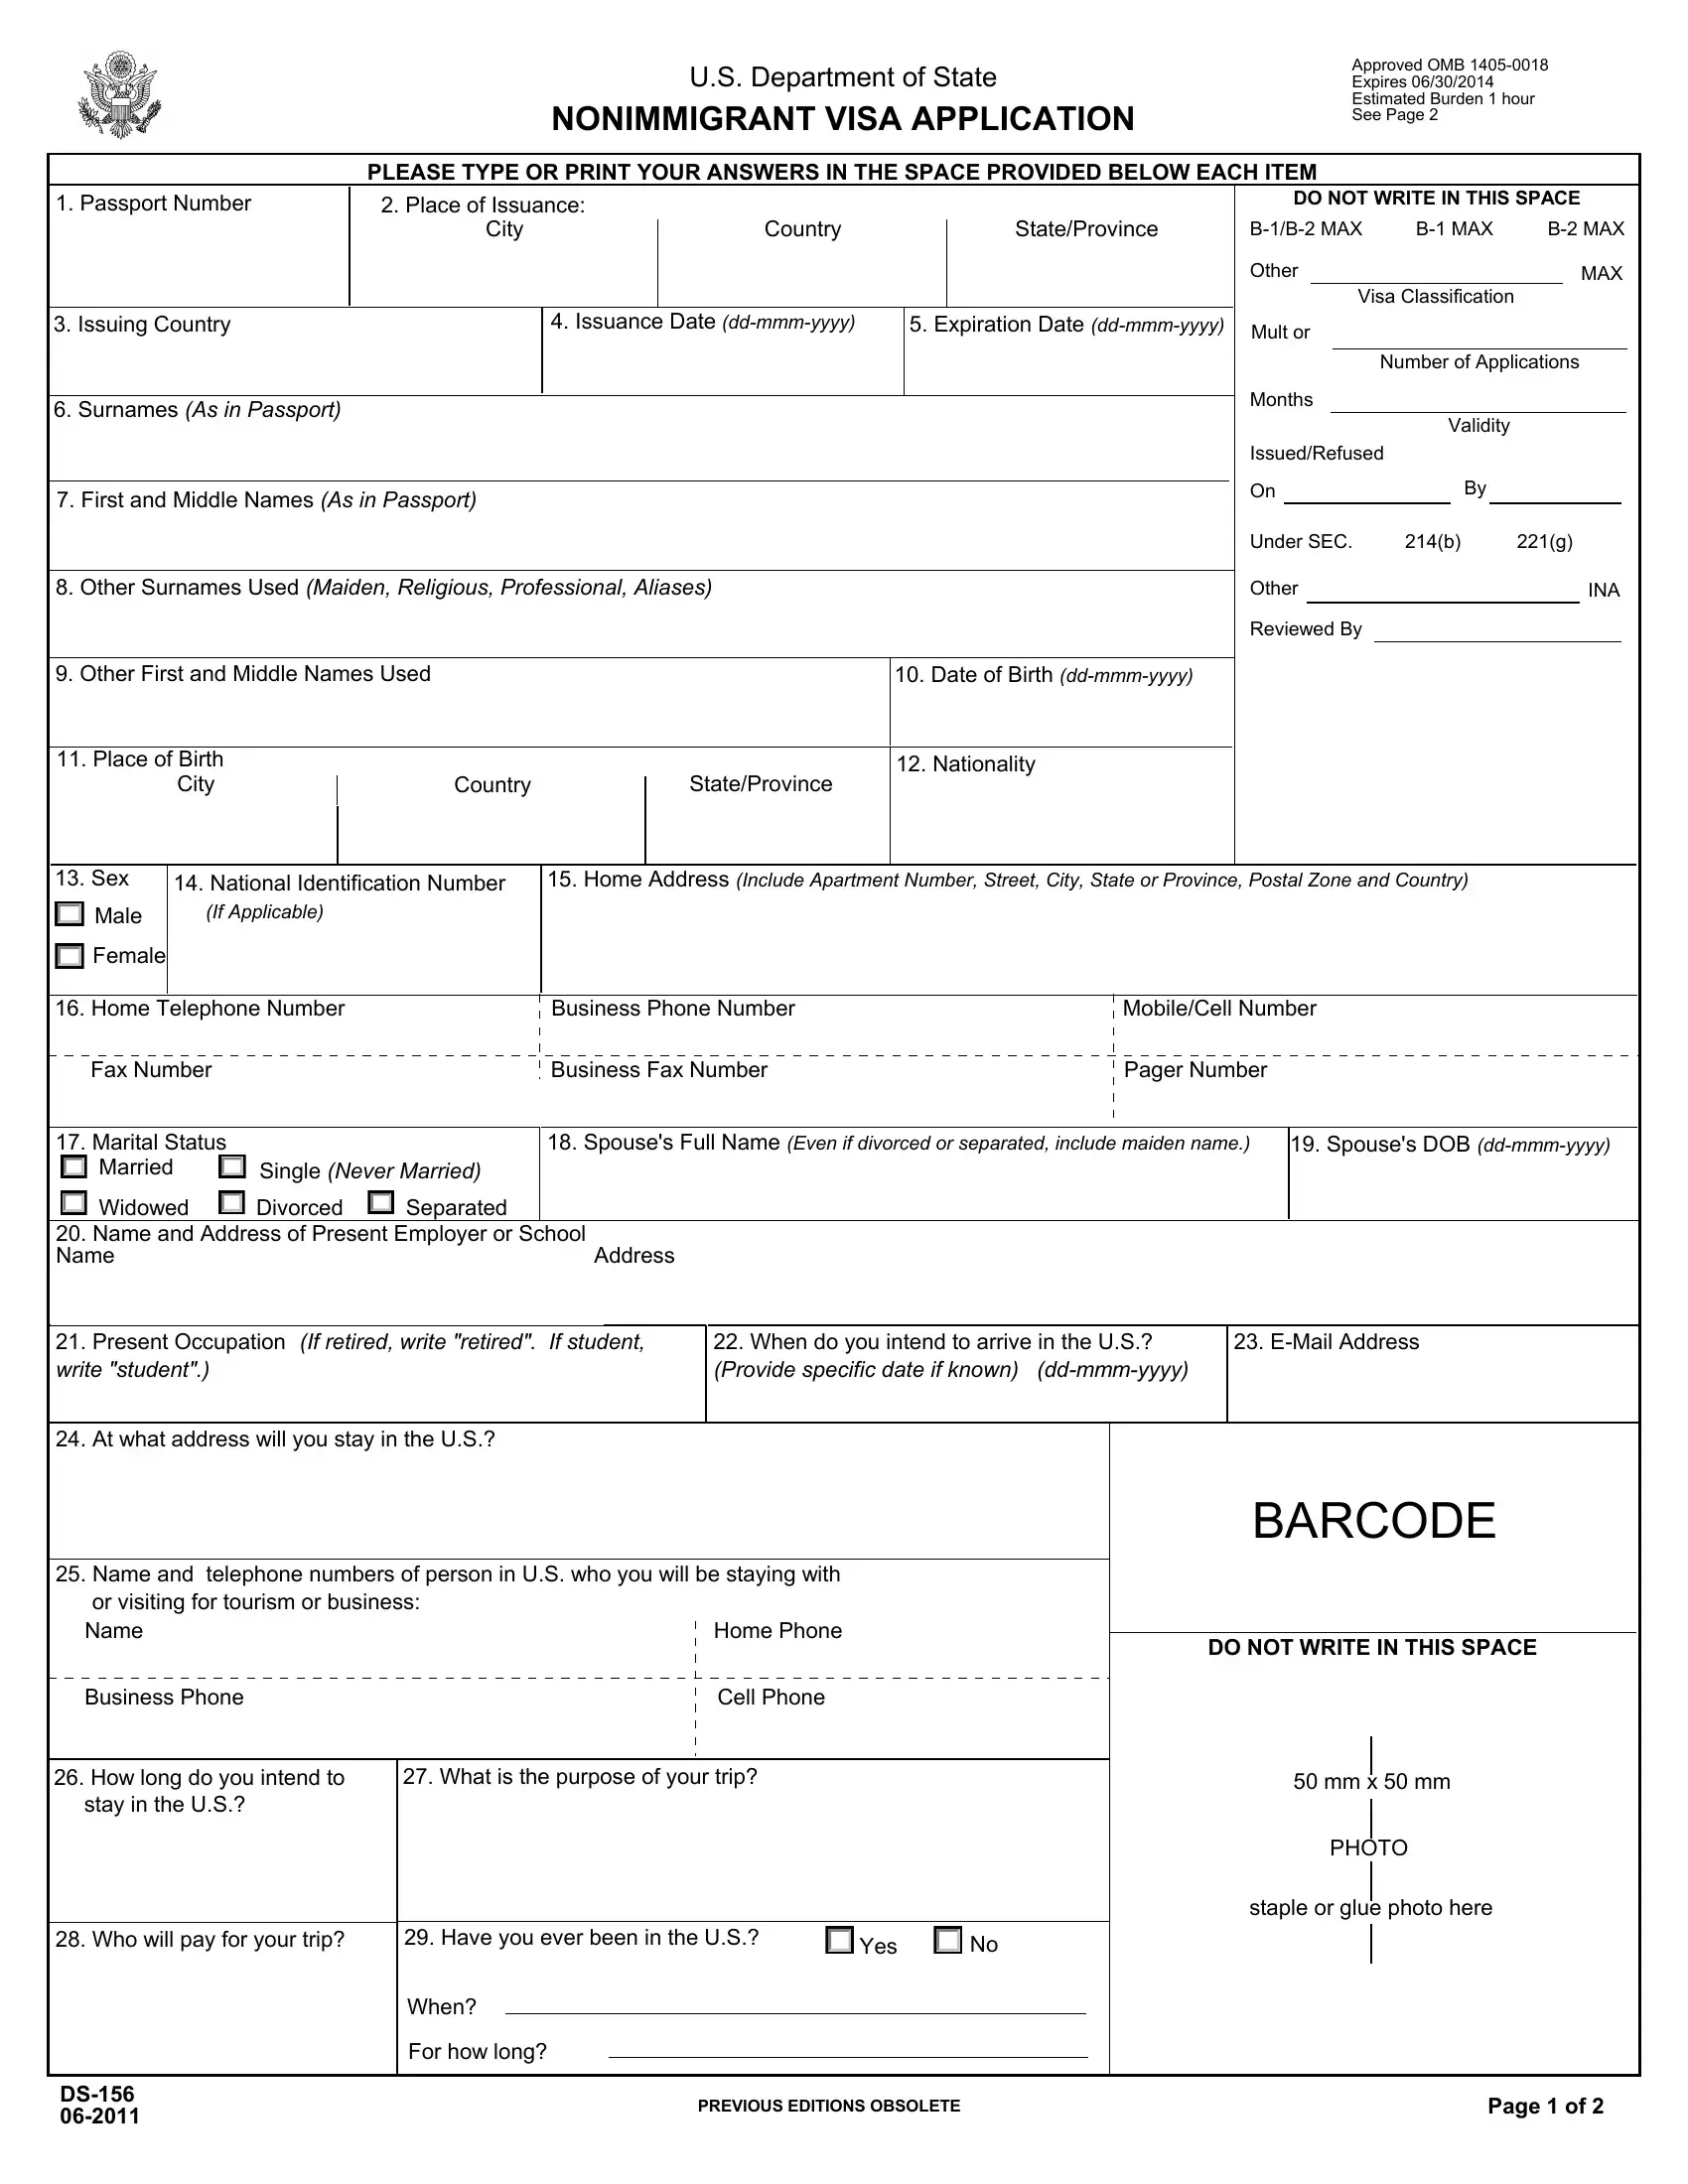
2) Complete the DS-160 Form

Before checking appointment availability, you must complete the DS-160 form. This is the online application form for a U.S. visa, and you need to fill it out and submit it. Once you submit the form, you’ll receive a confirmation page with a barcode.
This confirmation page is vital for scheduling your appointment. Make sure to save a copy of it, as you will need it during the scheduling process.
3) Pay the Visa Application Fee
In most cases, before you can check the available appointment dates, you need to pay the visa application fee. The fee amount depends on the type of visa you're applying for (e.g., tourist visa, student visa, etc.). You can pay this fee online or at an authorized bank, depending on the instructions provided by the U.S. embassy or consulate.
Once the payment is made, you’ll receive a receipt, which you will need when scheduling your appointment.
4) Log In to Your Account
After completing the DS-160 form and paying the visa fee, log in to the U.S. visa appointment website with the credentials you created in step 1. Once logged in, you will be able to access the scheduling system, where you can check for available visa interview dates.
5) Check Available Appointment Dates
- In the appointment scheduling system, you will be prompted to select your visa category (e.g., tourist visa, student visa).
- Once you select your visa type, you’ll be able to see available appointment dates for your U.S. visa interview. Availability may vary depending on the embassy or consulate’s schedule, so be sure to check for open slots.
- You may also see information about the earliest available dates or available dates in specific time frames, depending on the embassy’s workload.
It’s important to note that during peak travel seasons (like summer or holidays), appointment availability can be limited, so it’s advisable to check dates early.
6) Select an Appointment Date
Once you find an available date that works for you, you can select it and proceed with scheduling. You’ll need to confirm your choice and pay any additional fees (if applicable). After confirmation, you will receive a notification and appointment confirmation letter with the details of your interview.
7) Prepare for Your Interview
After securing your appointment, the next step is preparing for the interview itself. Make sure you gather all required documents, including:
- Your DS-160 confirmation page
- Visa fee receipt
- Passport-sized photos (as per U.S. specifications)
- Valid passport
- Any supporting documents specific to your visa category (e.g., financial documents for a tourist visa, I-20 for a student visa)
Be sure to review the specific requirements for your visa category on the embassy website, as each type of visa may require different supporting documents.
8) Monitor Your Appointment Status
In some cases, the U.S. embassy or consulate may notify you of any changes to your appointment, including cancellations or rescheduling. Be sure to check your email regularly for updates, and make sure your contact details are accurate when you book the appointment.
What to Do if No Appointments Are Available?
Sometimes, you may not find any available appointment dates, especially if the embassy or consulate is experiencing a high volume of applications. In this case, don’t panic! Here are a few things you can do:
- Check regularly: Availability can open up as people cancel or reschedule their appointments. Keep checking the website to catch any new openings.
- Use the emergency appointment process: In cases of urgent travel (e.g., medical emergencies, urgent business needs), you may be eligible to apply for an expedited appointment. The embassy website usually provides specific guidelines for such requests.
- Consider alternate locations: If you have flexibility, you might also check for appointment availability at a different U.S. consulate or embassy in a neighboring country.
Conclusion
Checking available appointment dates for a U.S. visa can be a simple process when you follow the necessary steps. By visiting the official U.S. visa appointment website, completing the DS-160 form, paying your visa fee, and staying on top of available slots, you’ll be well on your way to securing your U.S. visa interview.
At Leso, we understand the importance of timely visa processing, and we’re here to help you navigate every step of your U.S. visa application. If you need assistance or have questions along the way, feel free to reach out for personalized support.
Good luck with your U.S. visa application, and we wish you safe travels!


